Modifying parameters with expressions
With OmniGeometry 1.3.11, you can set any parameter value from a Javascript expression string.
This is a slightly advanced topic, but enables powerful manipulation of layer parameters, for example easy setting of any parameter value to be calculated from the layer index number.
Quick tutorial on getting started
Let's start with a simple example so you get an idea how to use the feature:
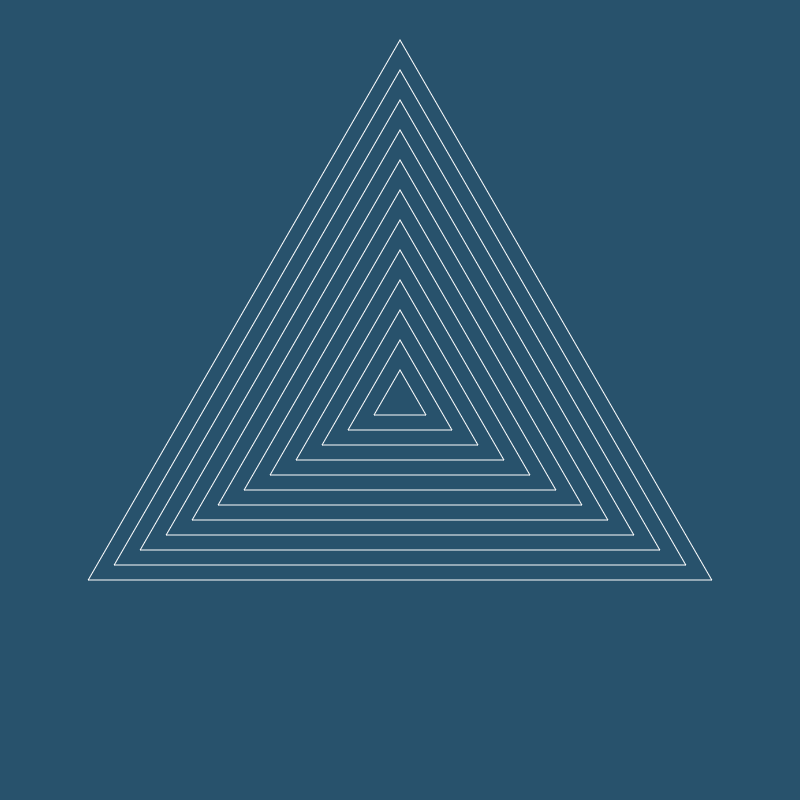
First you need to make a bunch of layers, for this example I have created 12 copies of the same layer:
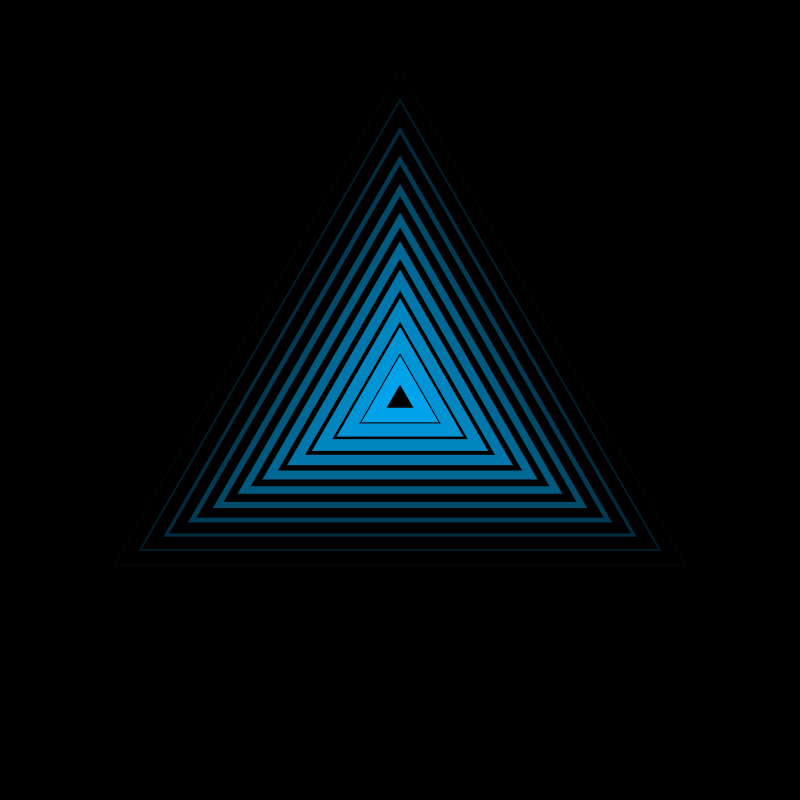
I made this simple triangle, and I've just copied the same layer 12 times, so they are on top of each other here.
We will now gradually use the Apply Parameter Value From Expression to adjust the selected layers, so you get a good understanding how the feature works.
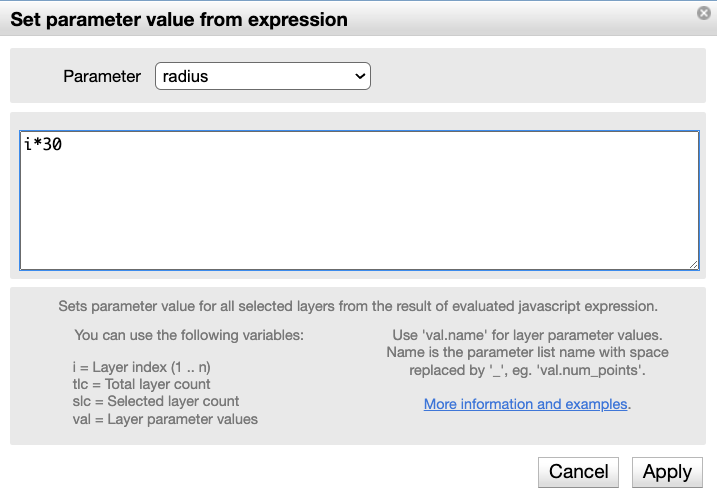
Now, select all of those 12 layers, and select the menu option Layer/Apply Parameter Value With Expression (or CTRL+Y).
Let's first adjust the radius, so that we get the scene more interesting.
Select the layer parameter "Radius" from the dropdown menu, and enter the following expression:
i * 30This expression has the variable i in it, which will be replaced with the index number of the layer, beginning from 1 and up to number of layers (12), so in this case, the expression will apply the value of:
1 * 30
2 * 30
3 * 30
..
And so on for the radius parameter of each selected layer.
This will result in the following scene:
Now, this is a little bit boring, so let's adjust another variable:
We can set the line weight with a natural progression by utilizing the golden ratio value of 1.618.
You can try to set the value directly to:
1.618 * i
That will result in this:
This will make the line weights increase from smaller to bigger as we go from the center to the outer edge.
But we want to make it look like the lines are getting thinner as they go outwards, so we want to inverse the results.
We can do this by substracting from a starting line weight, like this:
16 - (1.618 * i) * 0.87
Notice we also added a multiplier of 0.87 at the end, to make the results more visually pleasing in this case.
Now we have this, which already looks way more interesting:
Adding color to the layers
Now, how about adding some color to the layers ?
We can utilize the function available in the param expressions:
(Will add later: List of all useful functions that can be used)
omg.color.hsv2bitmask(hue, saturation, value)
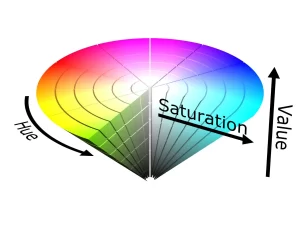
This function converts a Hue-Saturation-Value (HSV) color into a 24 -bit whole number color value (eg. 0xFF808080 = 4286611584), which are used to represent colors internally in OmniGeometry.
This function takes in
- hue in the range (0..1)
- saturation in the range (0..1)
- value (brightness) in the range (0..1).
The Hue value means a position from the full spectrum of colors.
Hue value of 0 is red, and 0.99 is again close to red at the other end of the spectrum coming back to 0, meaning blue color is somewhere near the 0.5 value.
For this example, we would like to generate different blue colors, with slightly varying brightness, or value, parameter.
So, we can do this:
omg.color.hsv2bitmask(0.55, 1.0, (1.0/tlc) * (tlc - i))
Here we introduce another variable available in all expressions: tlc.
This means: Total Layer Count, which in this case expands to the value of 12.
We need this value, in order to calculate exactly a gradient change of color from 0.0 to 1.0.
Calculating (1.0/tlc) gives how many steps it takes from 0 to 1 and calculating (tlc - i), means inverting the order in the index is taken into account, resulting the following image:
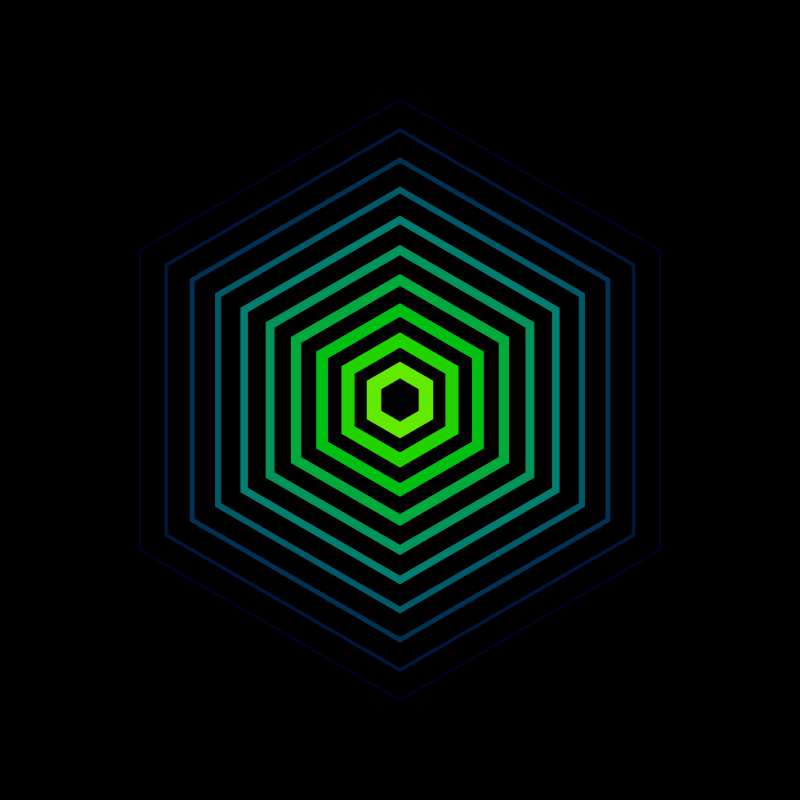
Let's increase the number of points manually to 6, and let's make the color variation more interesting:
omg.color.hsv2bitmask(0.22+(i/23), 1.0, (1.0/tlc) * (tlc - i))
This means that we are adjusting both the hue and the value, while saturation stays at 1.0.
We start the hue adjust from 0.22, and increase it with the hand picked value of i/23, resulting in this slight gradient effect:
Now this is already pretty cool and gives you an idea how to use this feature.
But let's go a step ahead also, and show how to create a basis for cool animations that brings this pattern alive 🙂
Scaling the layers
We will do a simple scaling effect, by adjusting the scale phase of individual layers.
The phase variable means at which phase of the scaling animation the layer is, so with this we can easily create dynamic, alive feeling animations that have this wave of motion going through them, by altering the phase variable.
To create a smooth curve for the scale phase adjust, we can use the Math module that is included as part of the standard javascript library.
You can use any standard module included in the Javascript library, so if you are already familiar with javascript programming, you can get really powerful results easily.
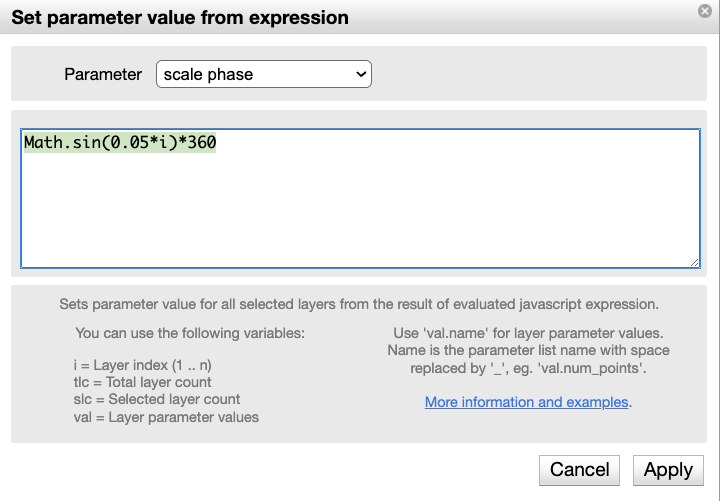
Let's input this string into the dialog box for "scale phase" parameter:
Math.sin(0.05*i)*360
This will result in the following effect:
The trigonometric function sin() is called to calculate the value of the scale phase depending on the layer index, creating a smooth curved increase in the phase value.
The scale phase takes in a value in the range of 0 .. 360, so we must multiply the value with 360 to get the wanted final result.
End of this tutorial, more to come
And that's it! Hopefully you get a understanding how to use the feature and get inspired to try out this feature on your own scenes.
This is an especially powerful feature if you need to manipulate a large number of layers you have already created, and want to adjust them based on the layer index.
Note: We will update later this blog post with link to the full list of functions available from the OmniGeometry javascript library and more examples.
Ask AI for help
If you are looking for inspiration how to use this feature, or seeking out how to apply wanted maths to your functions, we recommend for example using ChatGPT to give you single line javascript functions that do the wanted results.
You can just describe the effect you would want, and describing to the AI that you want it as a one liner in javascript. You might have to know how to modify the code to fit into this use case, but I've already had success with just describing exactly what kind of effect I'm looking for, and then applying that into the OmniGeometry expressions.
One thing to keep in mind, is that for example to calculate positions, you have to set the origo_x and origo_y parameters individually at this moment.
Maybe in future versions we will still improve this function to make it easier, we are still testing and experimenting how this works.
Share your cool creations!
Would be happy to see what you find with this feature, you can share your creations on our Telegram channel and we can later update this page to a link with examples, so the whole community can learn from your findings!
